Data Hub & Dataset Management#
06/16/2025
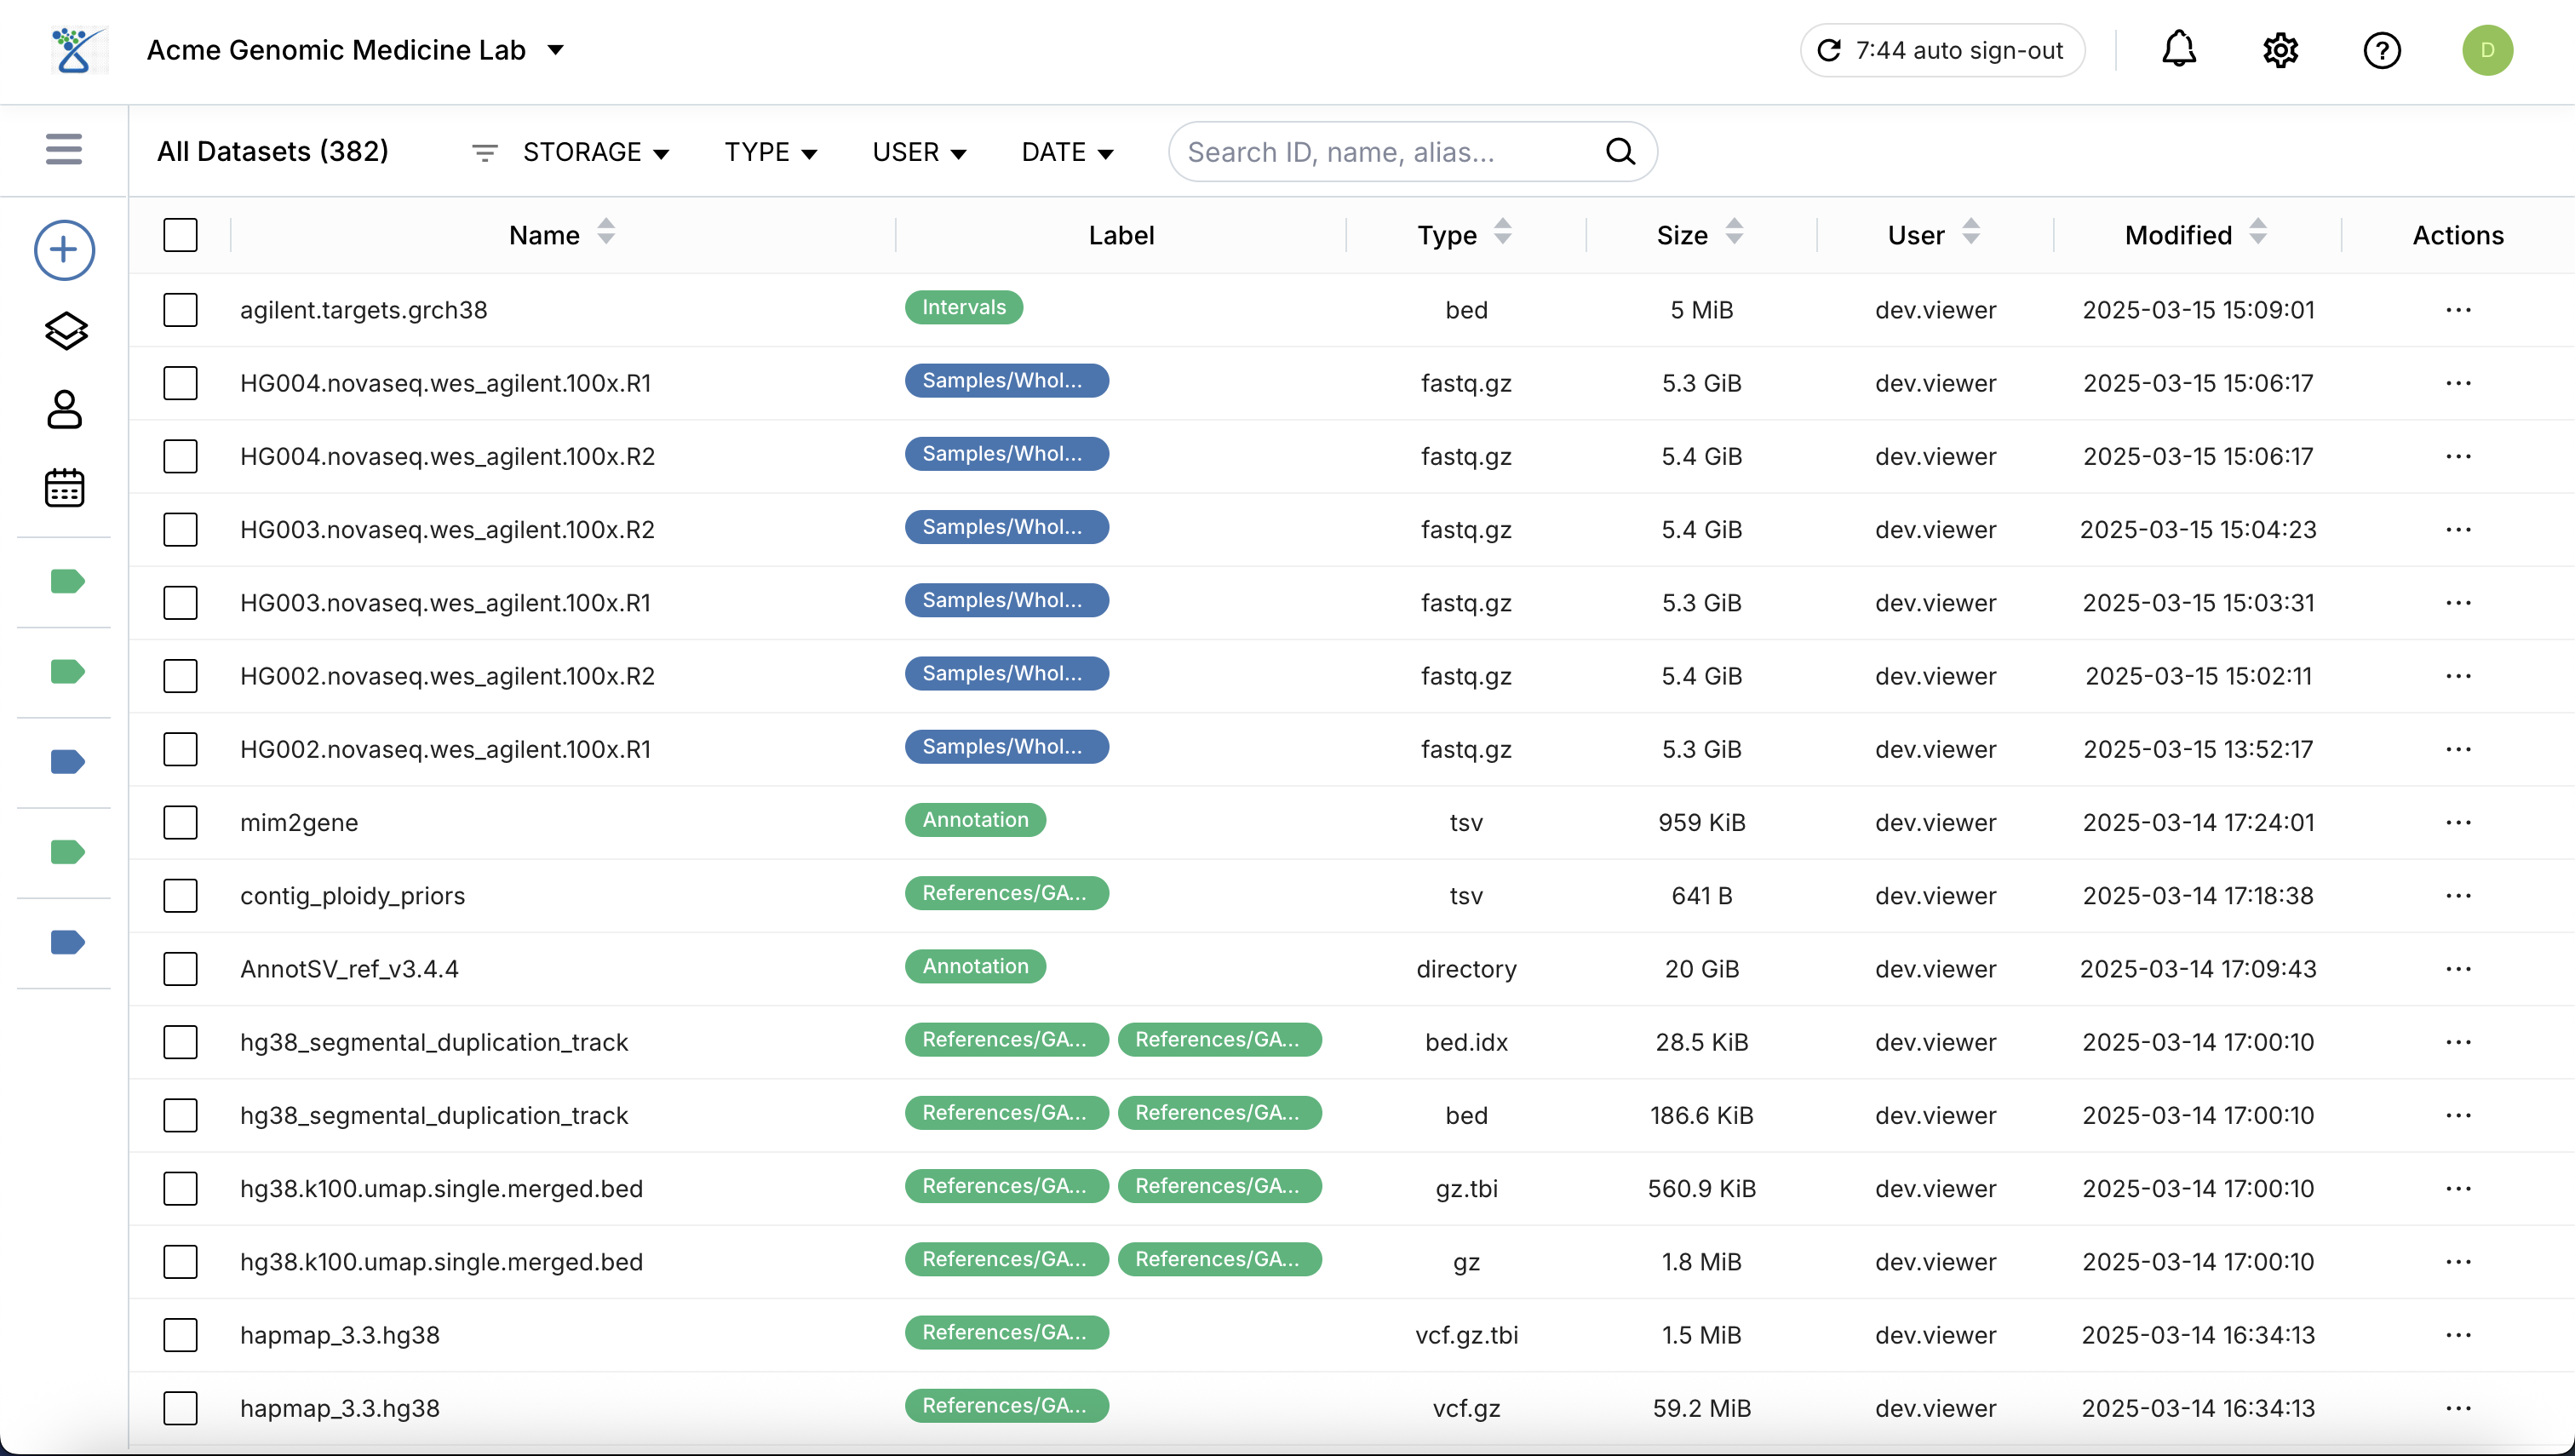
The Data Hub is the central repository for all your genomic and biomedical data assets. Built on a Data Lakehouse architecture, it enables you to manage raw datasets, curated Delta tables, and associated metadata in a secure, compliant manner.
Adding New Datasets#
To register or ingest new data into the Lakehouse, use the + Add button located at the top of the left menu. Clicking this button reveals two sub-menu options depending on your data source:
Option 1: Local file…#
Use this option to upload files directly from your computer.
Select Local file… from the sub-menu.
Drag and drop your files or use the file browser to select them.
Select Workspace: Choose the target workspace where your files will be uploaded and stored.
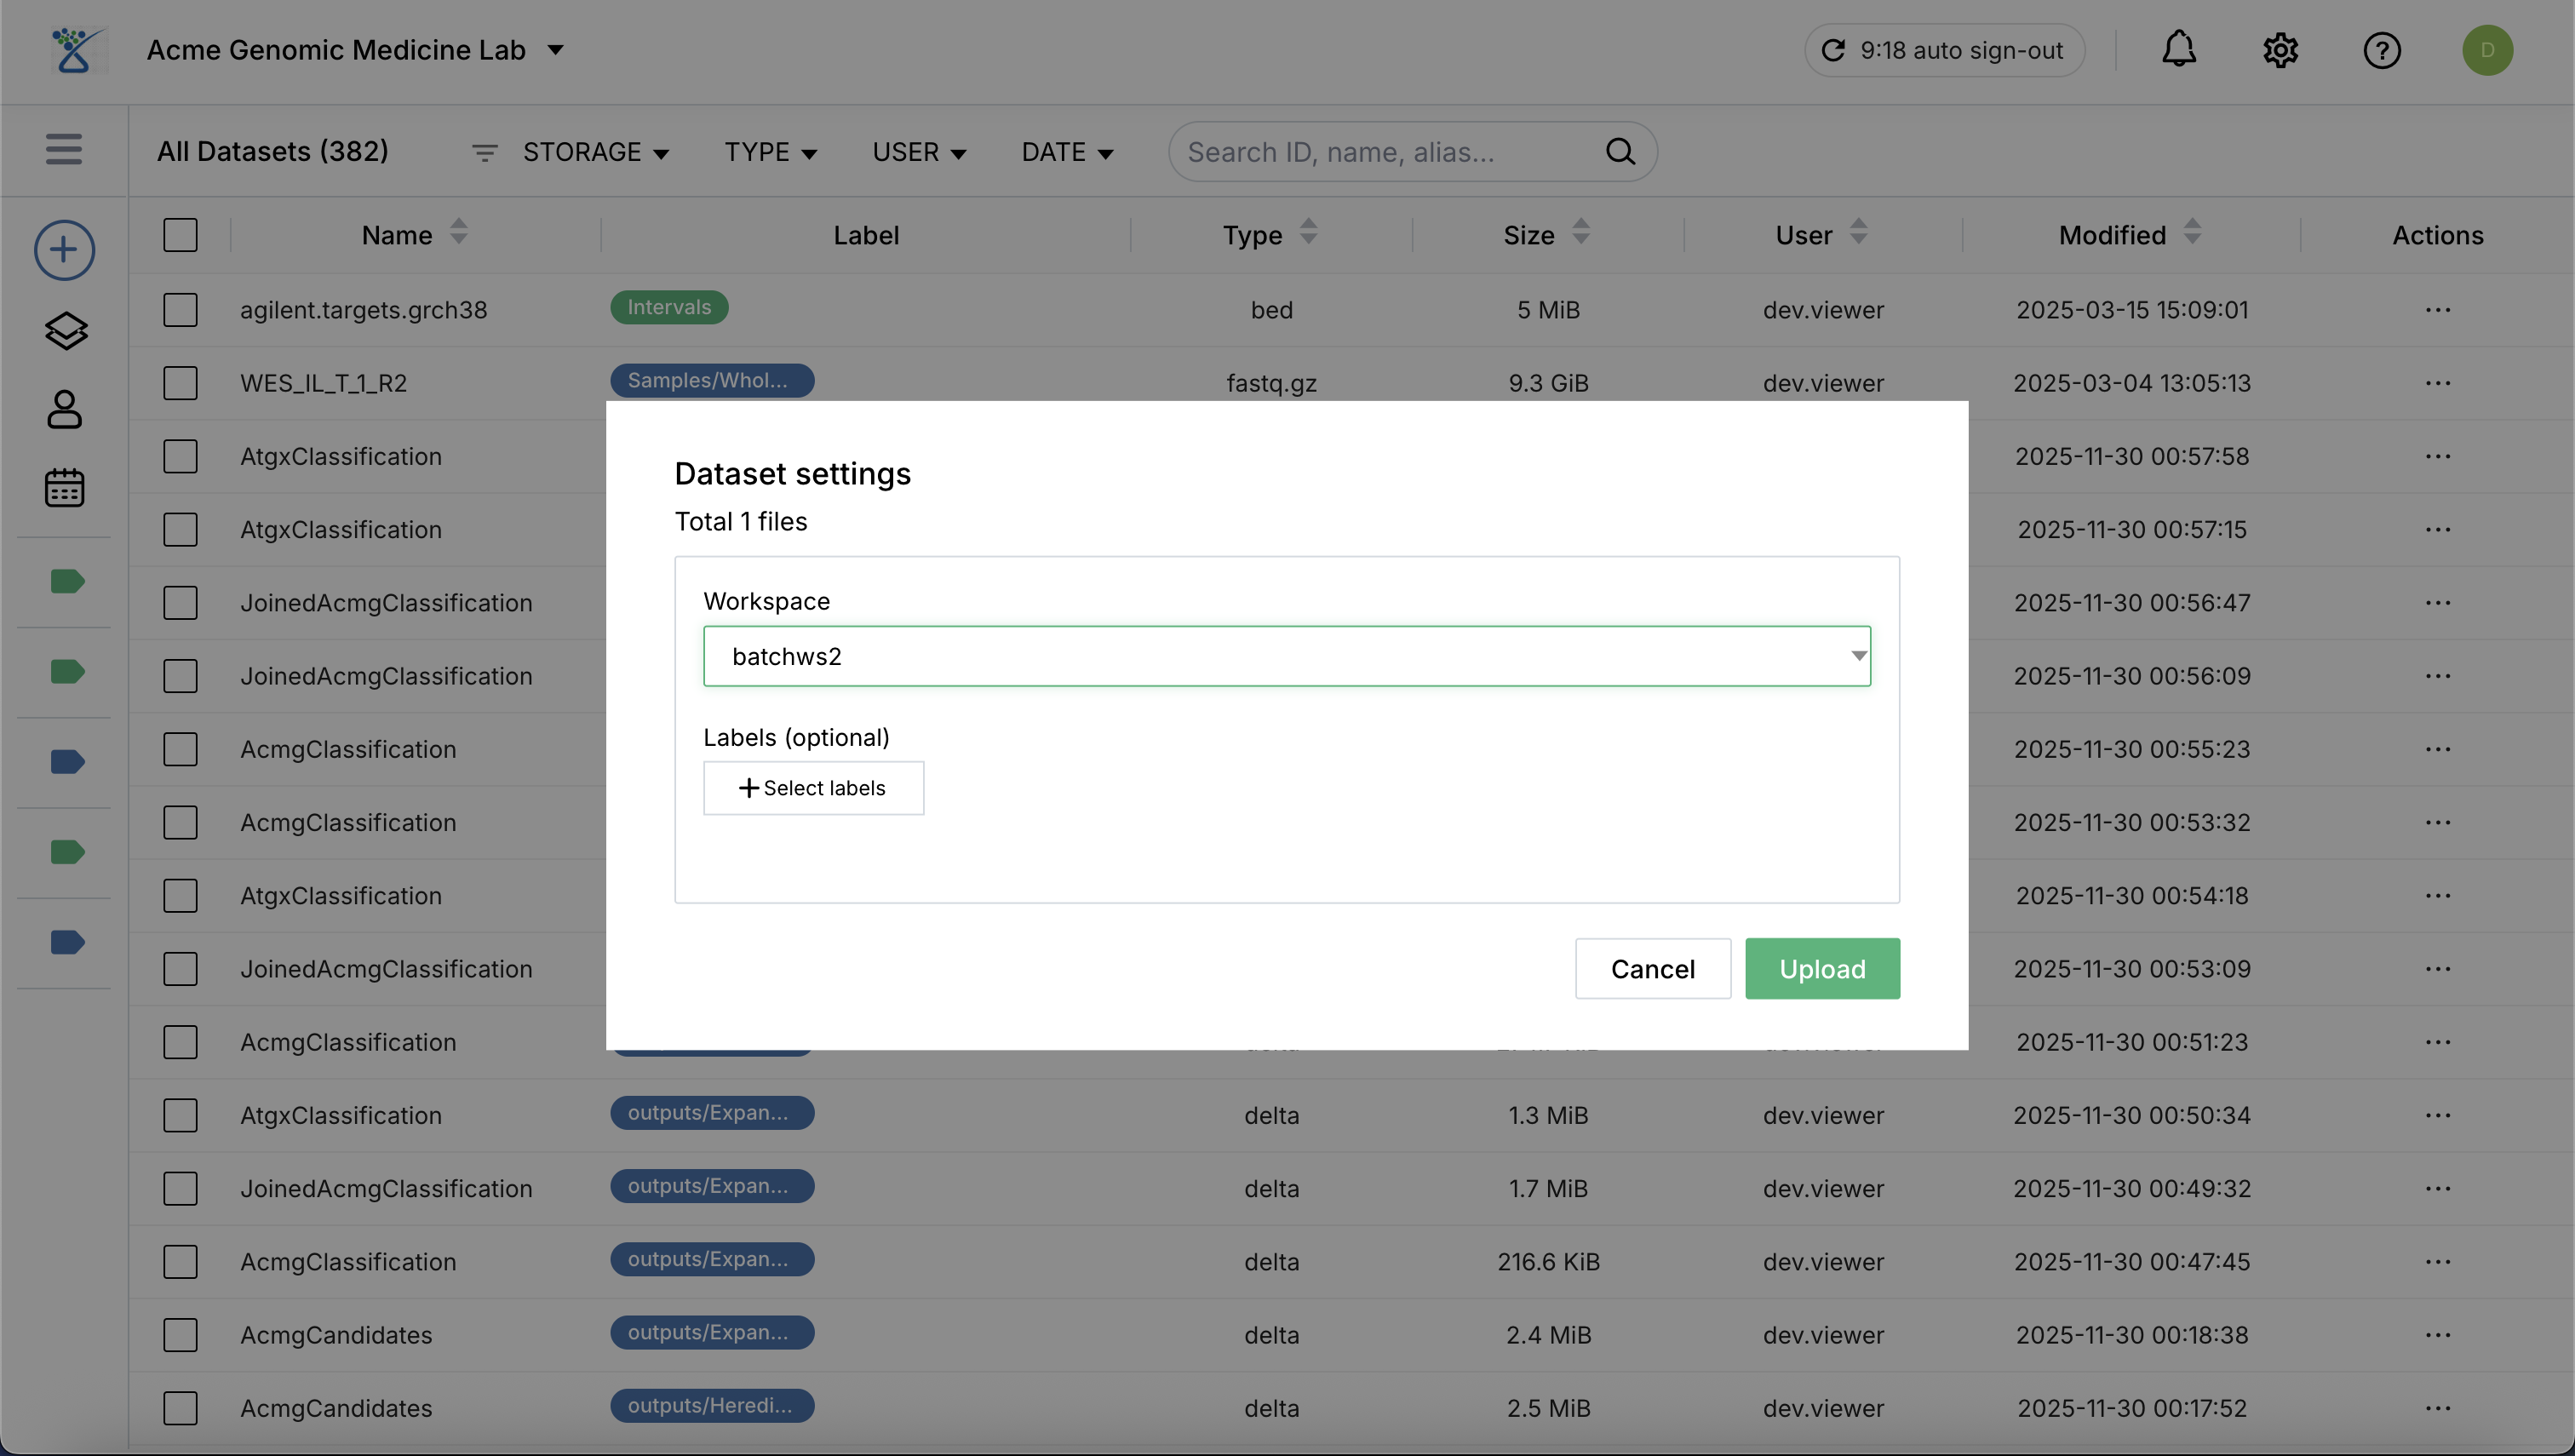
Click Upload to start the transfer process.
Post-Upload Registration: Once the upload to storage is complete, the system automatically registers the dataset and provides the following information:
Name: The assigned identifier for the dataset.
Created Time: The timestamp when the dataset was physically created in the storage layer.
Version: The timestamp reflecting when the dataset was registered or when its information was last updated in the system.
SHA2 Checksum: A unique cryptographic hash for data integrity verification.
Option 2: URL…#
Use this option to register data already residing in cloud storage (e.g., Azure Blob Storage), open data repositories (e.g., brain-genomics-public), or datasets accessible via HTTPS (e.g., ClinVar database).
Select URL… from the sub-menu.
Specify the fields for datasets.
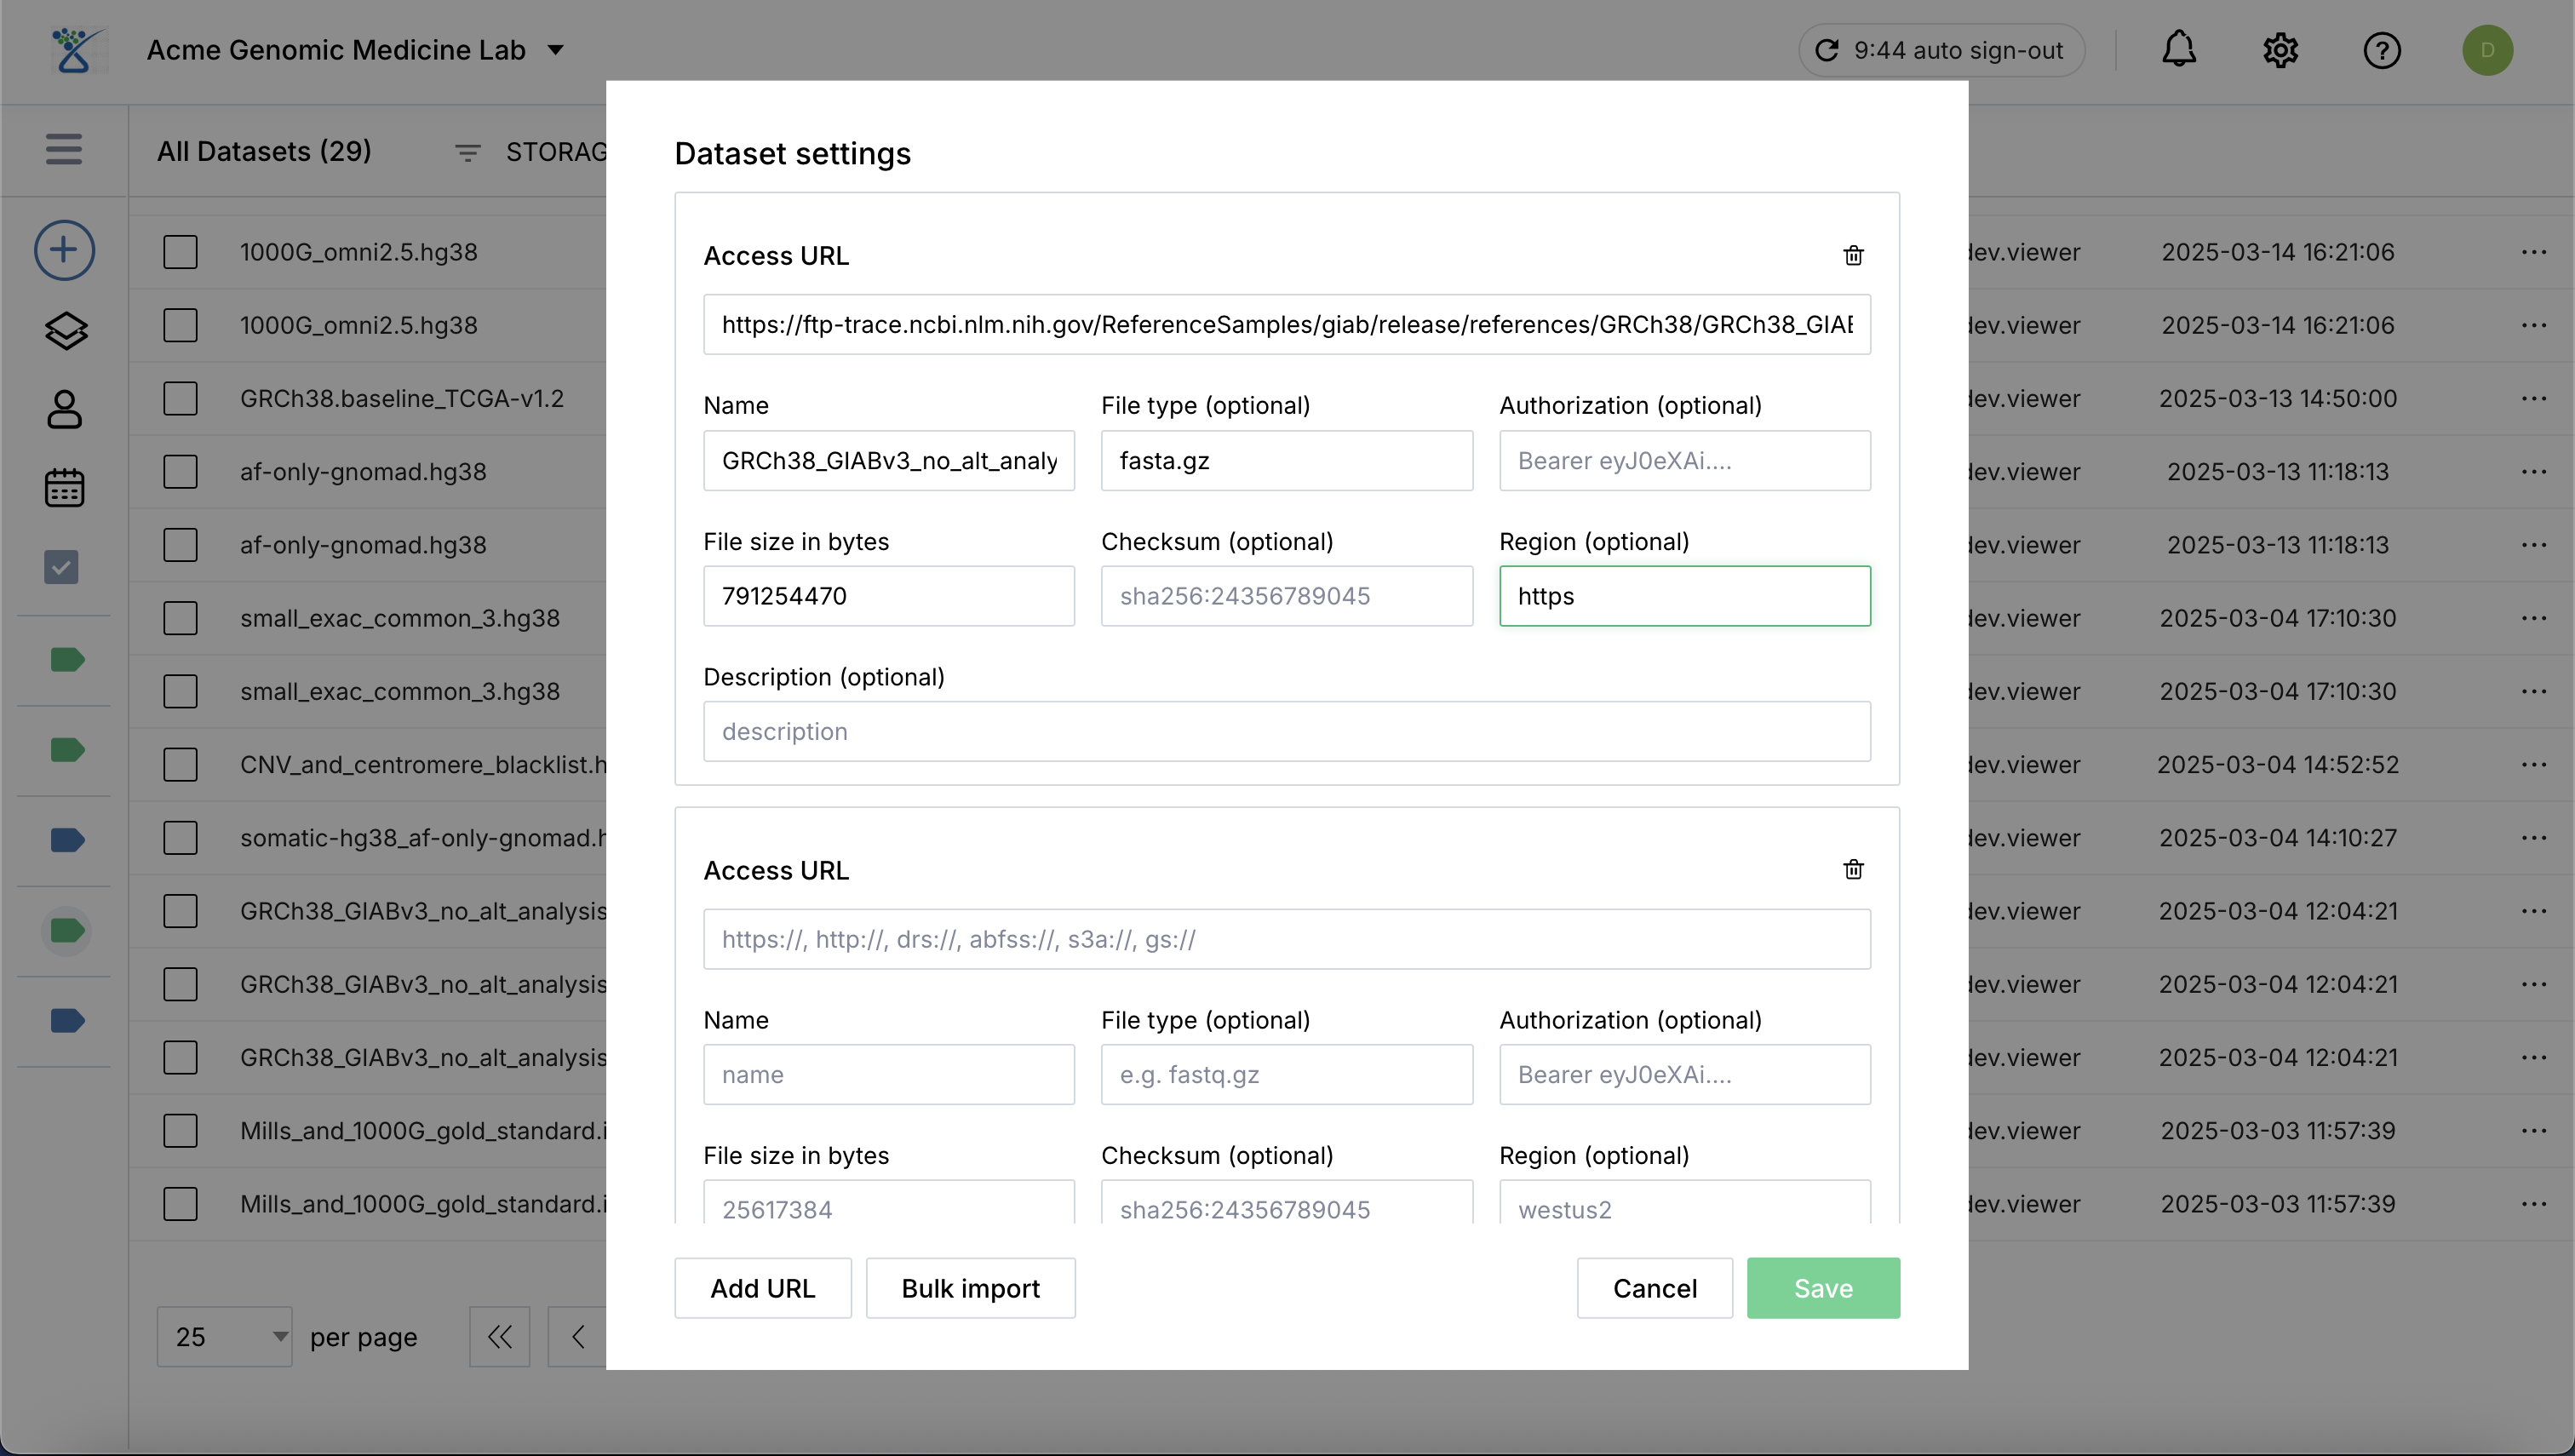
Click Add URL to add more URLs if registering multiple assets simultaneously.
Once specified, click Save to register the new datasets in the catalog.
Required Fields for Data Governance#
To ensure full traceability and compliance within the Lakehouse, the following fields are mandatory:
Access URL: The validated URL where the data resides, provided for data retrival (abfss, https, s3a, etc.).
Name: A unique, descriptive identifier for the asset.
File size in bytes: The actual size of the dataset file in bytes.
Checksum (optional): Recommended to provide for data integrity validation.
Bulk Importing Datasets#
For large-scale data migration or batch registration of external datasets, SeqsLab supports bulk import via a structured manifest file.
The Bulk Import Workflow#
Click Bulk Import and download the Excel template.
Complete the required fields for all your datasets to be registered.
Upload the completed Excel file and click “IMPORT” to start the process.
Organizing with Metadata and Labels#
Properly organized data is key to reproducible workflows. SeqsLab allows for rich metadata management using a flexible key-value system.
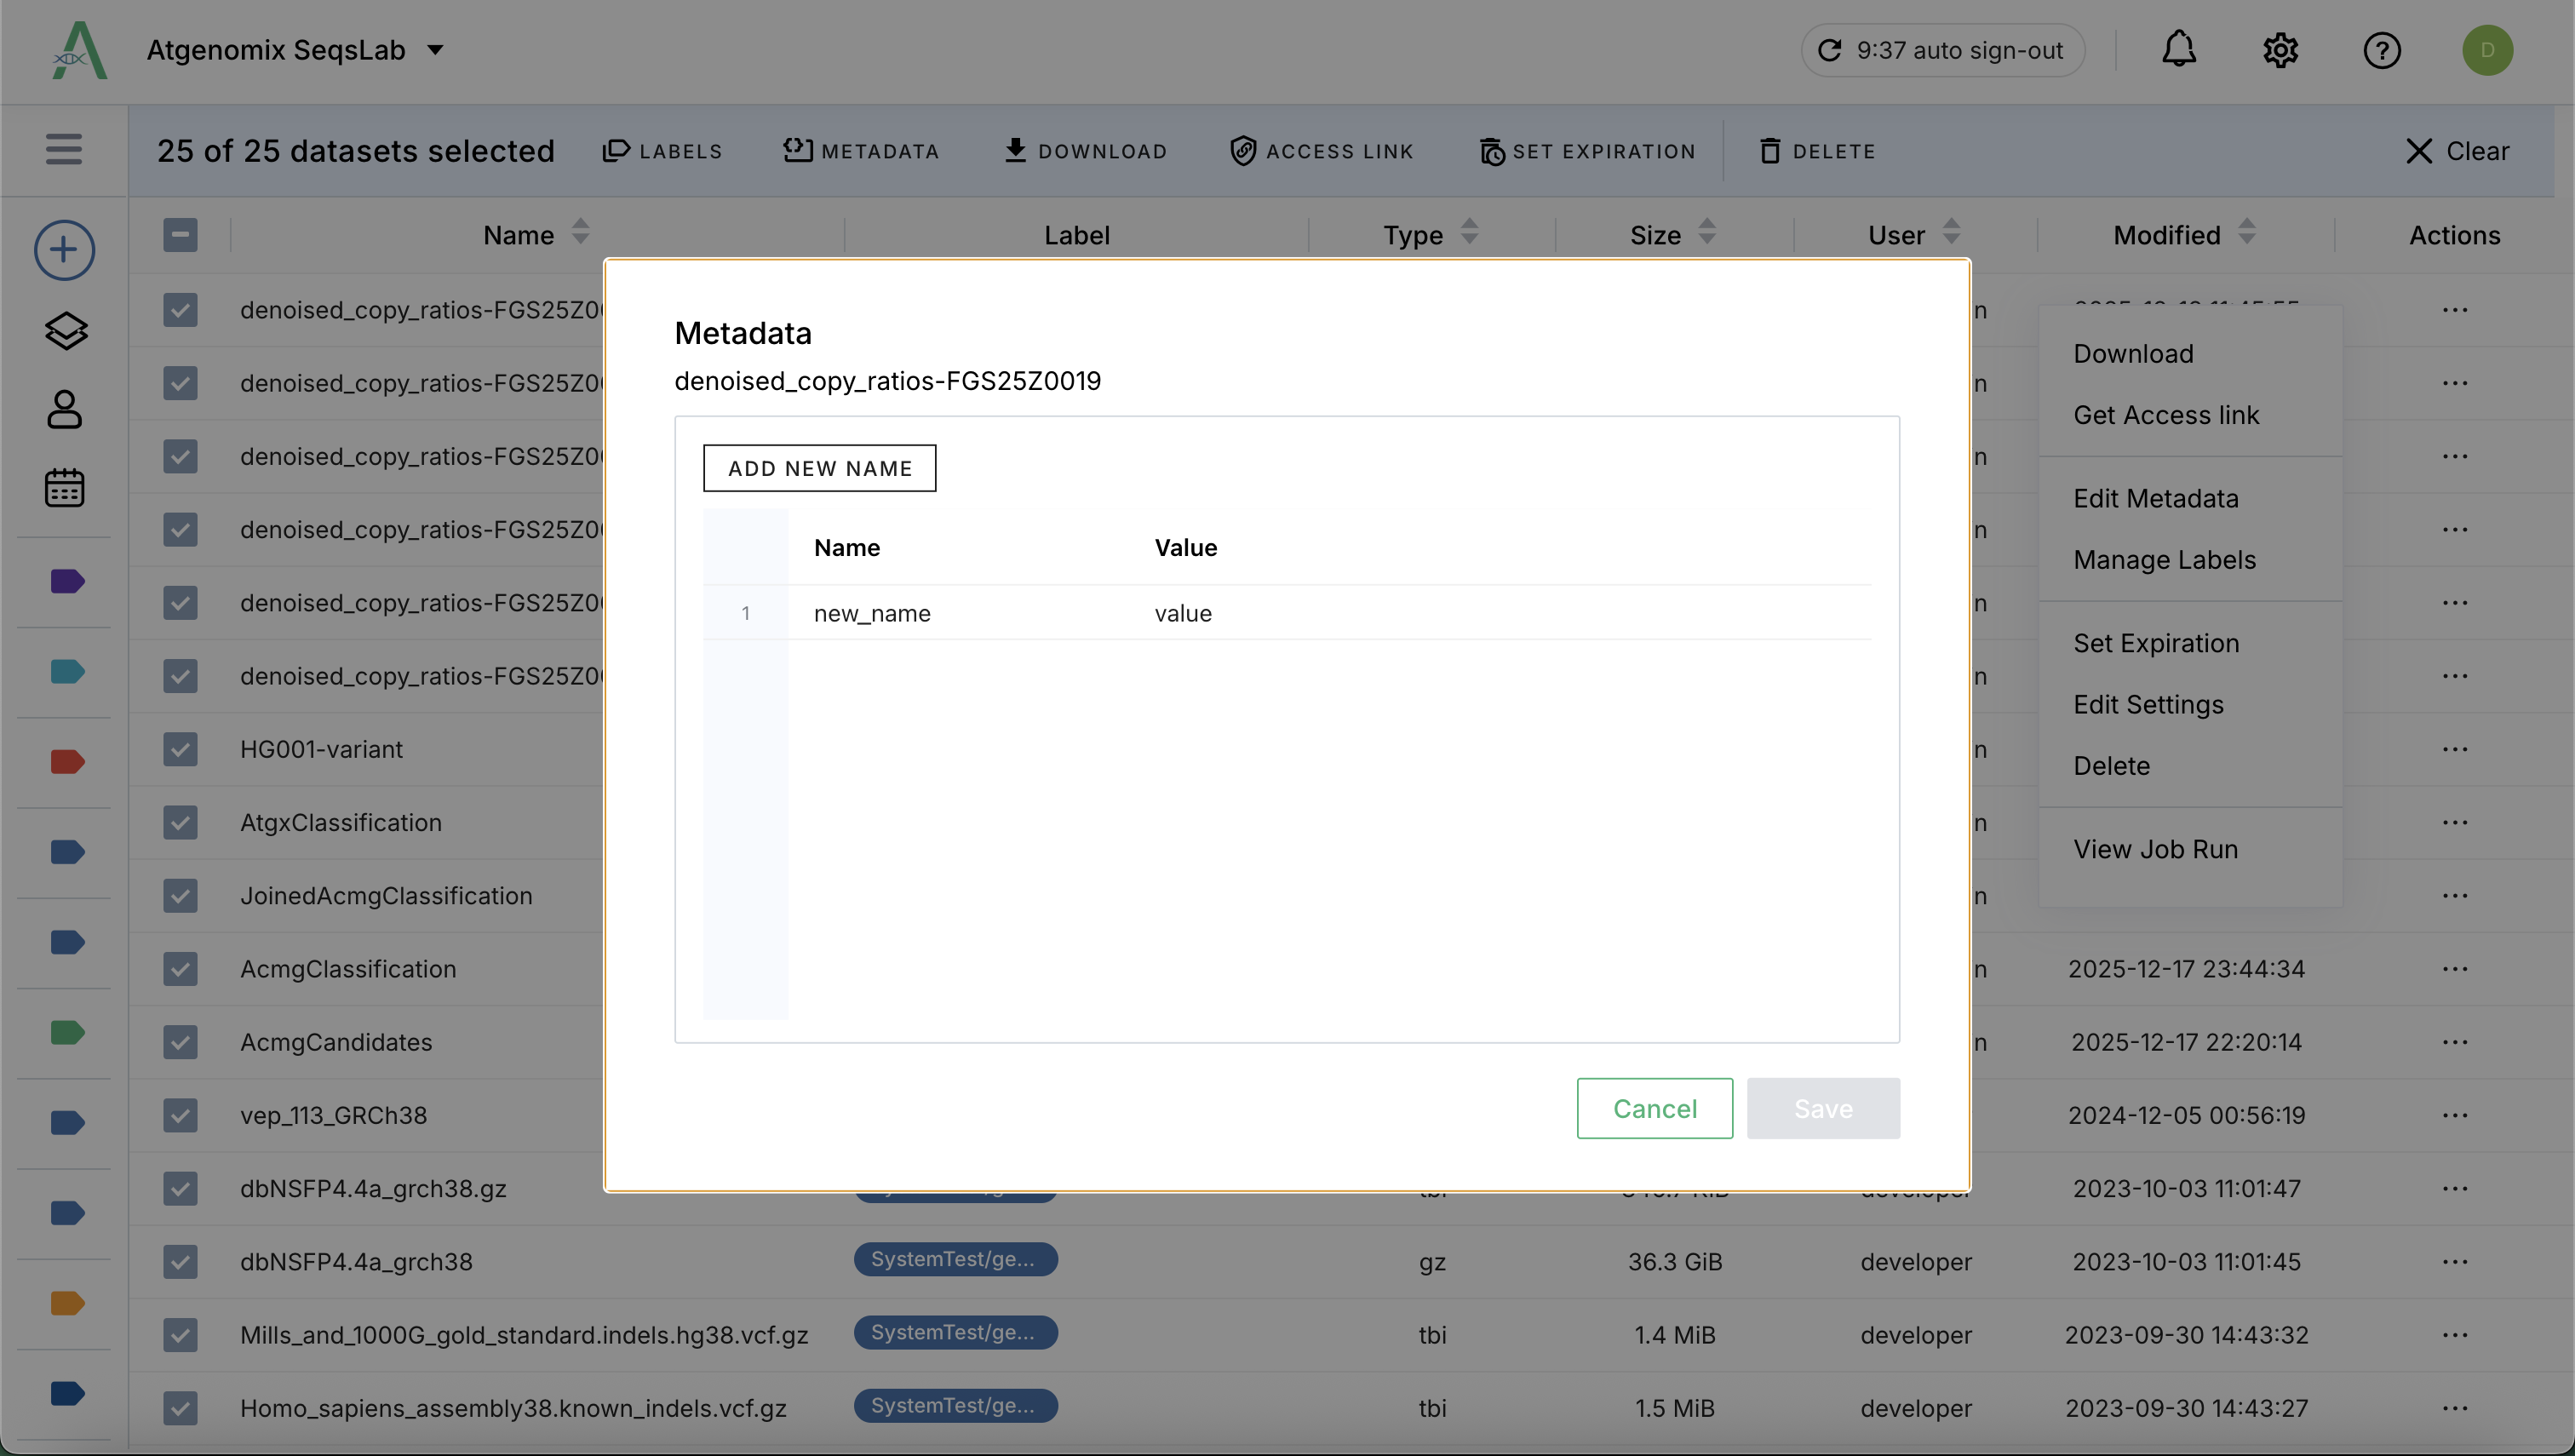
Dataset Metadata#
Metadata in SeqsLab is stored as a list of key-value pairs.
Values: Can be simple strings or complex JSON strings, allowing you to store structured biological or clinical information directly within the dataset profile.
Management:
Individual: Locate the dataset, Click (
 ) and then click Edit Metadata to open the details view and manage metadata entries one by one.
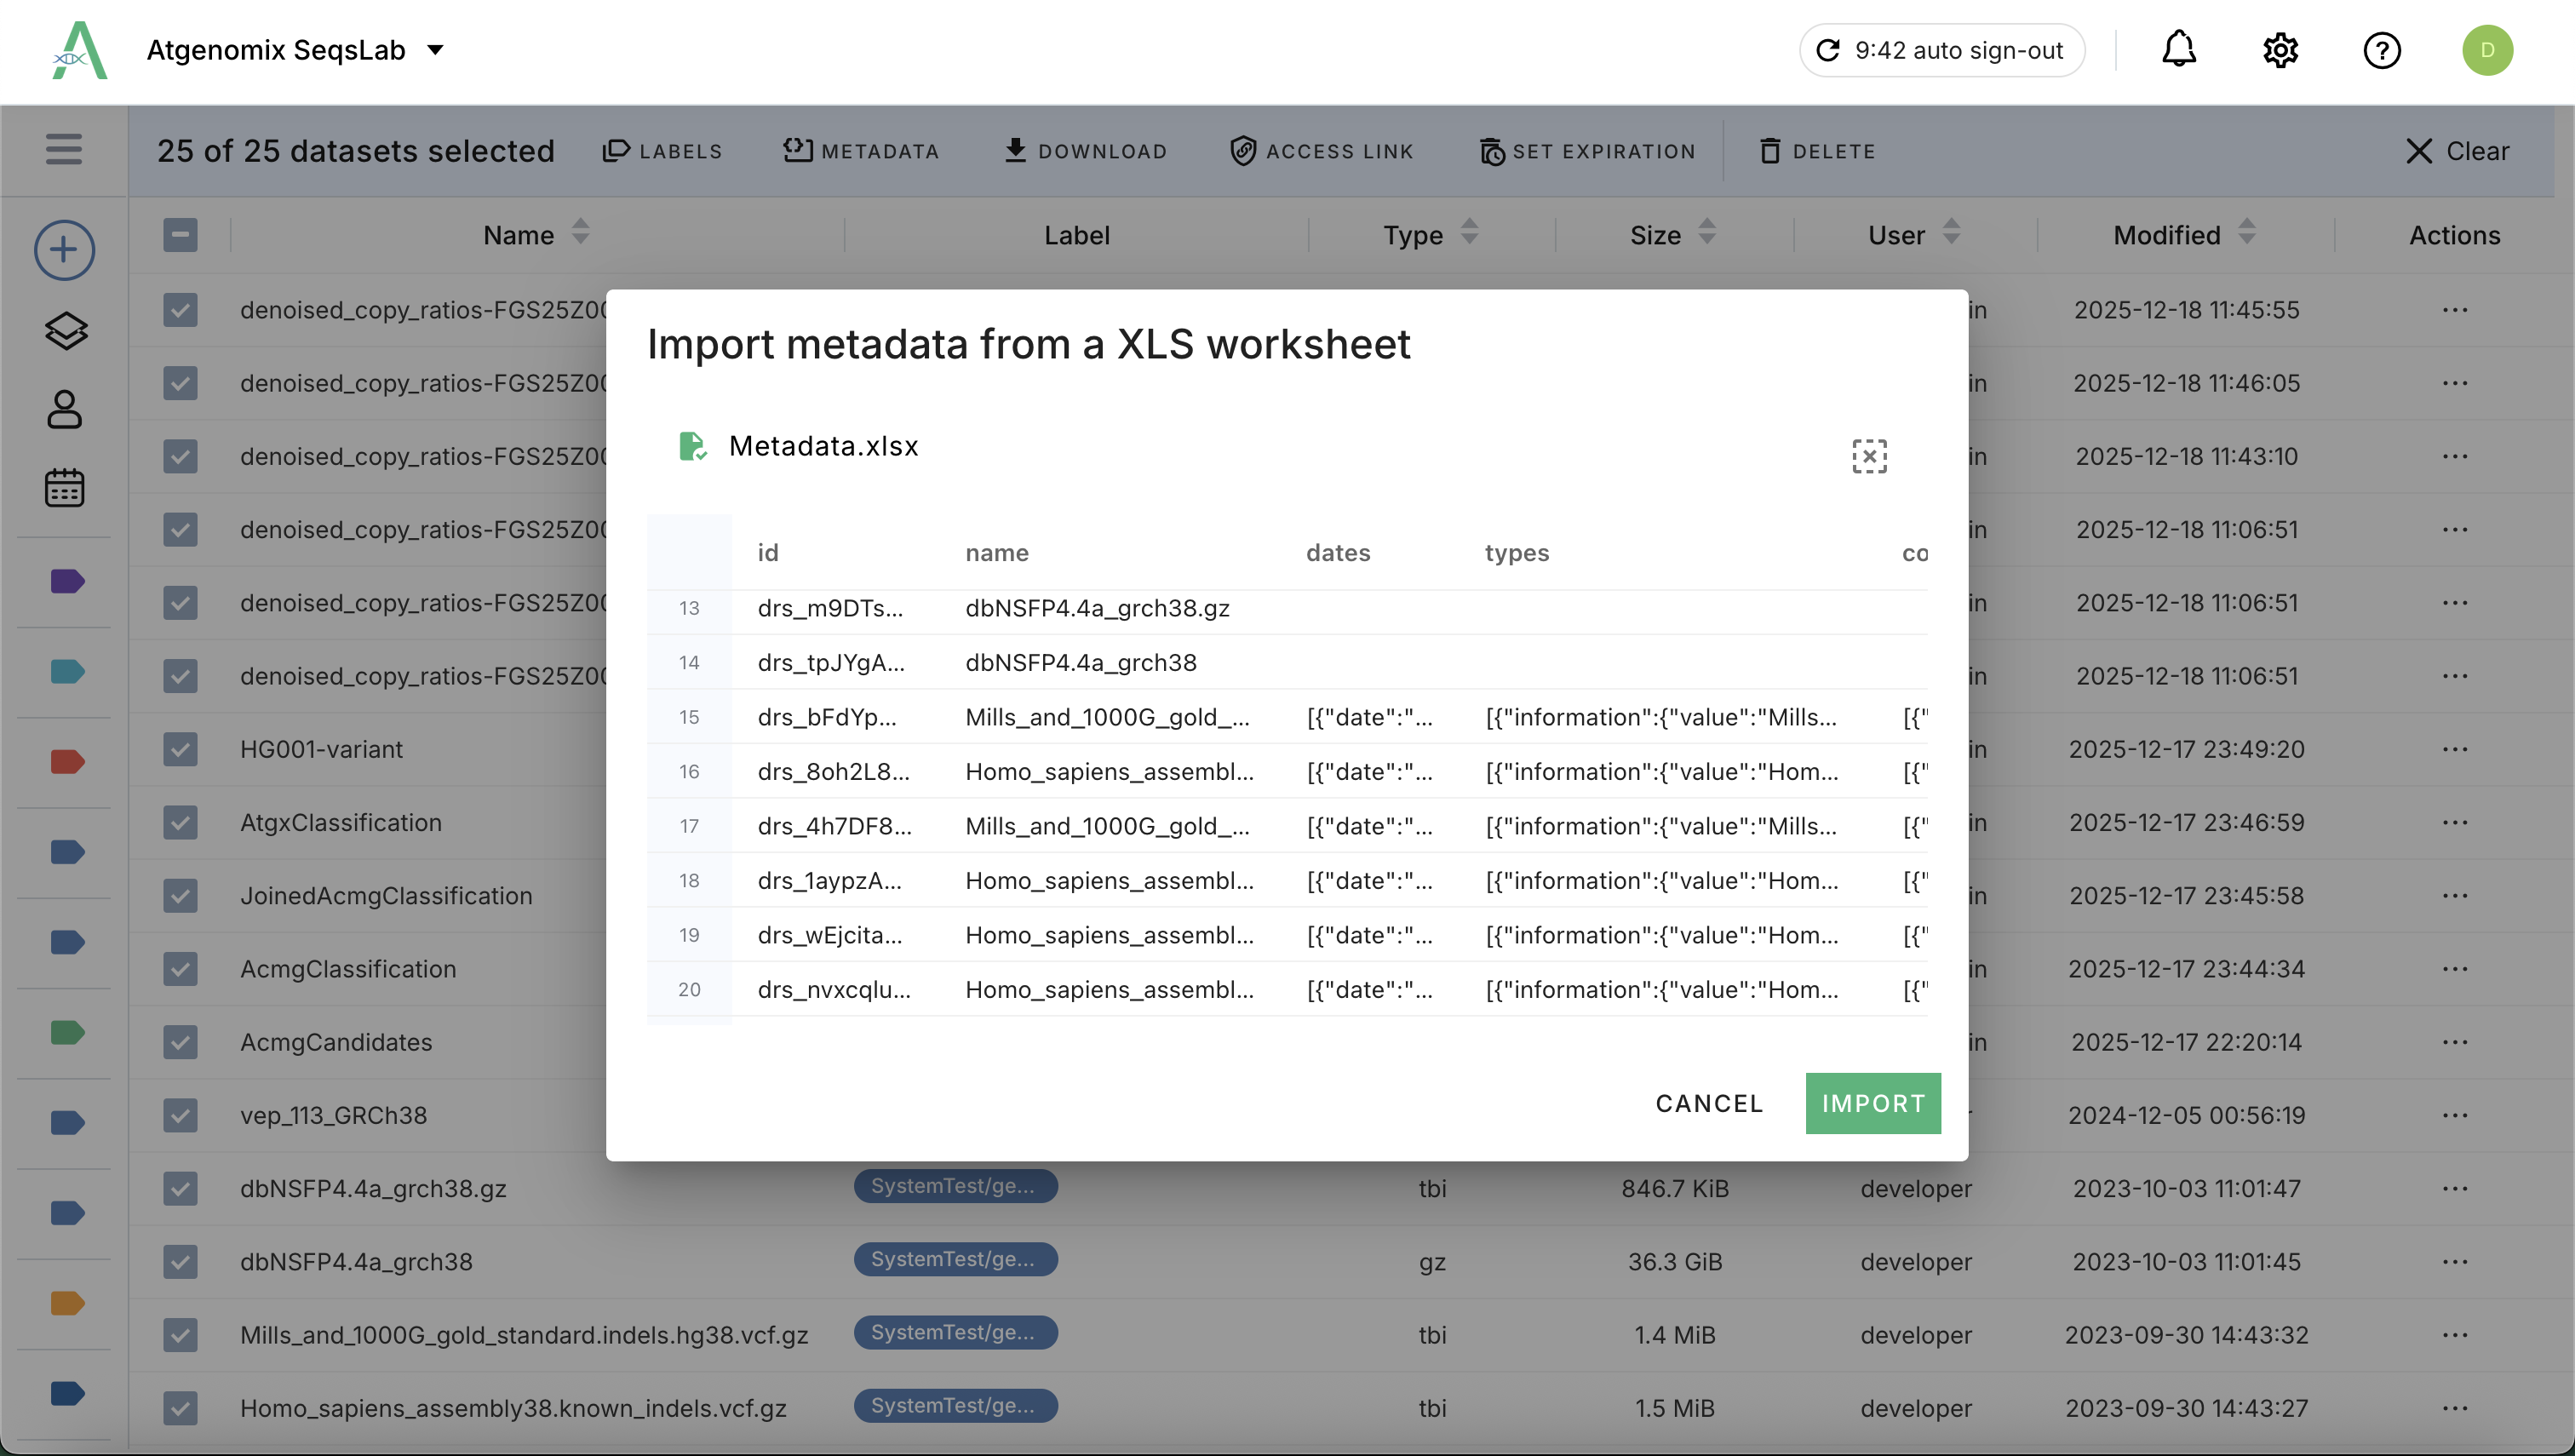
Bulk: For a list of datasets, you can manage metadata by uploading a completed Excel file containing the key-value mappings for each dataset.
Locate and select the target datasets.
Click Metadata at the top menu.
Download the template (.xlsx) and complete the metadata for each dataset.
Drag your completed Excel or use file browser to upload the Excel to import the metadata.
Dataset Labels#
Locate your datasets in the list and click the select all checkbox for the list of actions at the top of the dataset table.
Click (
> Manage Labels) for your dataset or select multiple datasets to batch edit.Add new labels (Manage labels)
Selection Behavior:
Select from existing tags in the list.
Auto-Selection: Previously selected tags for the dataset are checked automatically.
Removing Labels: Unchecking a tag will automatically remove that label from the selected dataset(s).
Click Save to apply the updates.
Secure Data Sharing#
SeqsLab ensures that data access is always controlled and audited through temporary access tokens.
Select a dataset in the Data Hub.
Click the Access Link to open the setting dialog.
Specify the expiration date when the access link will be invalid.
Click Apply to generate a temporary, SAS-secured URL based on your account permissions.
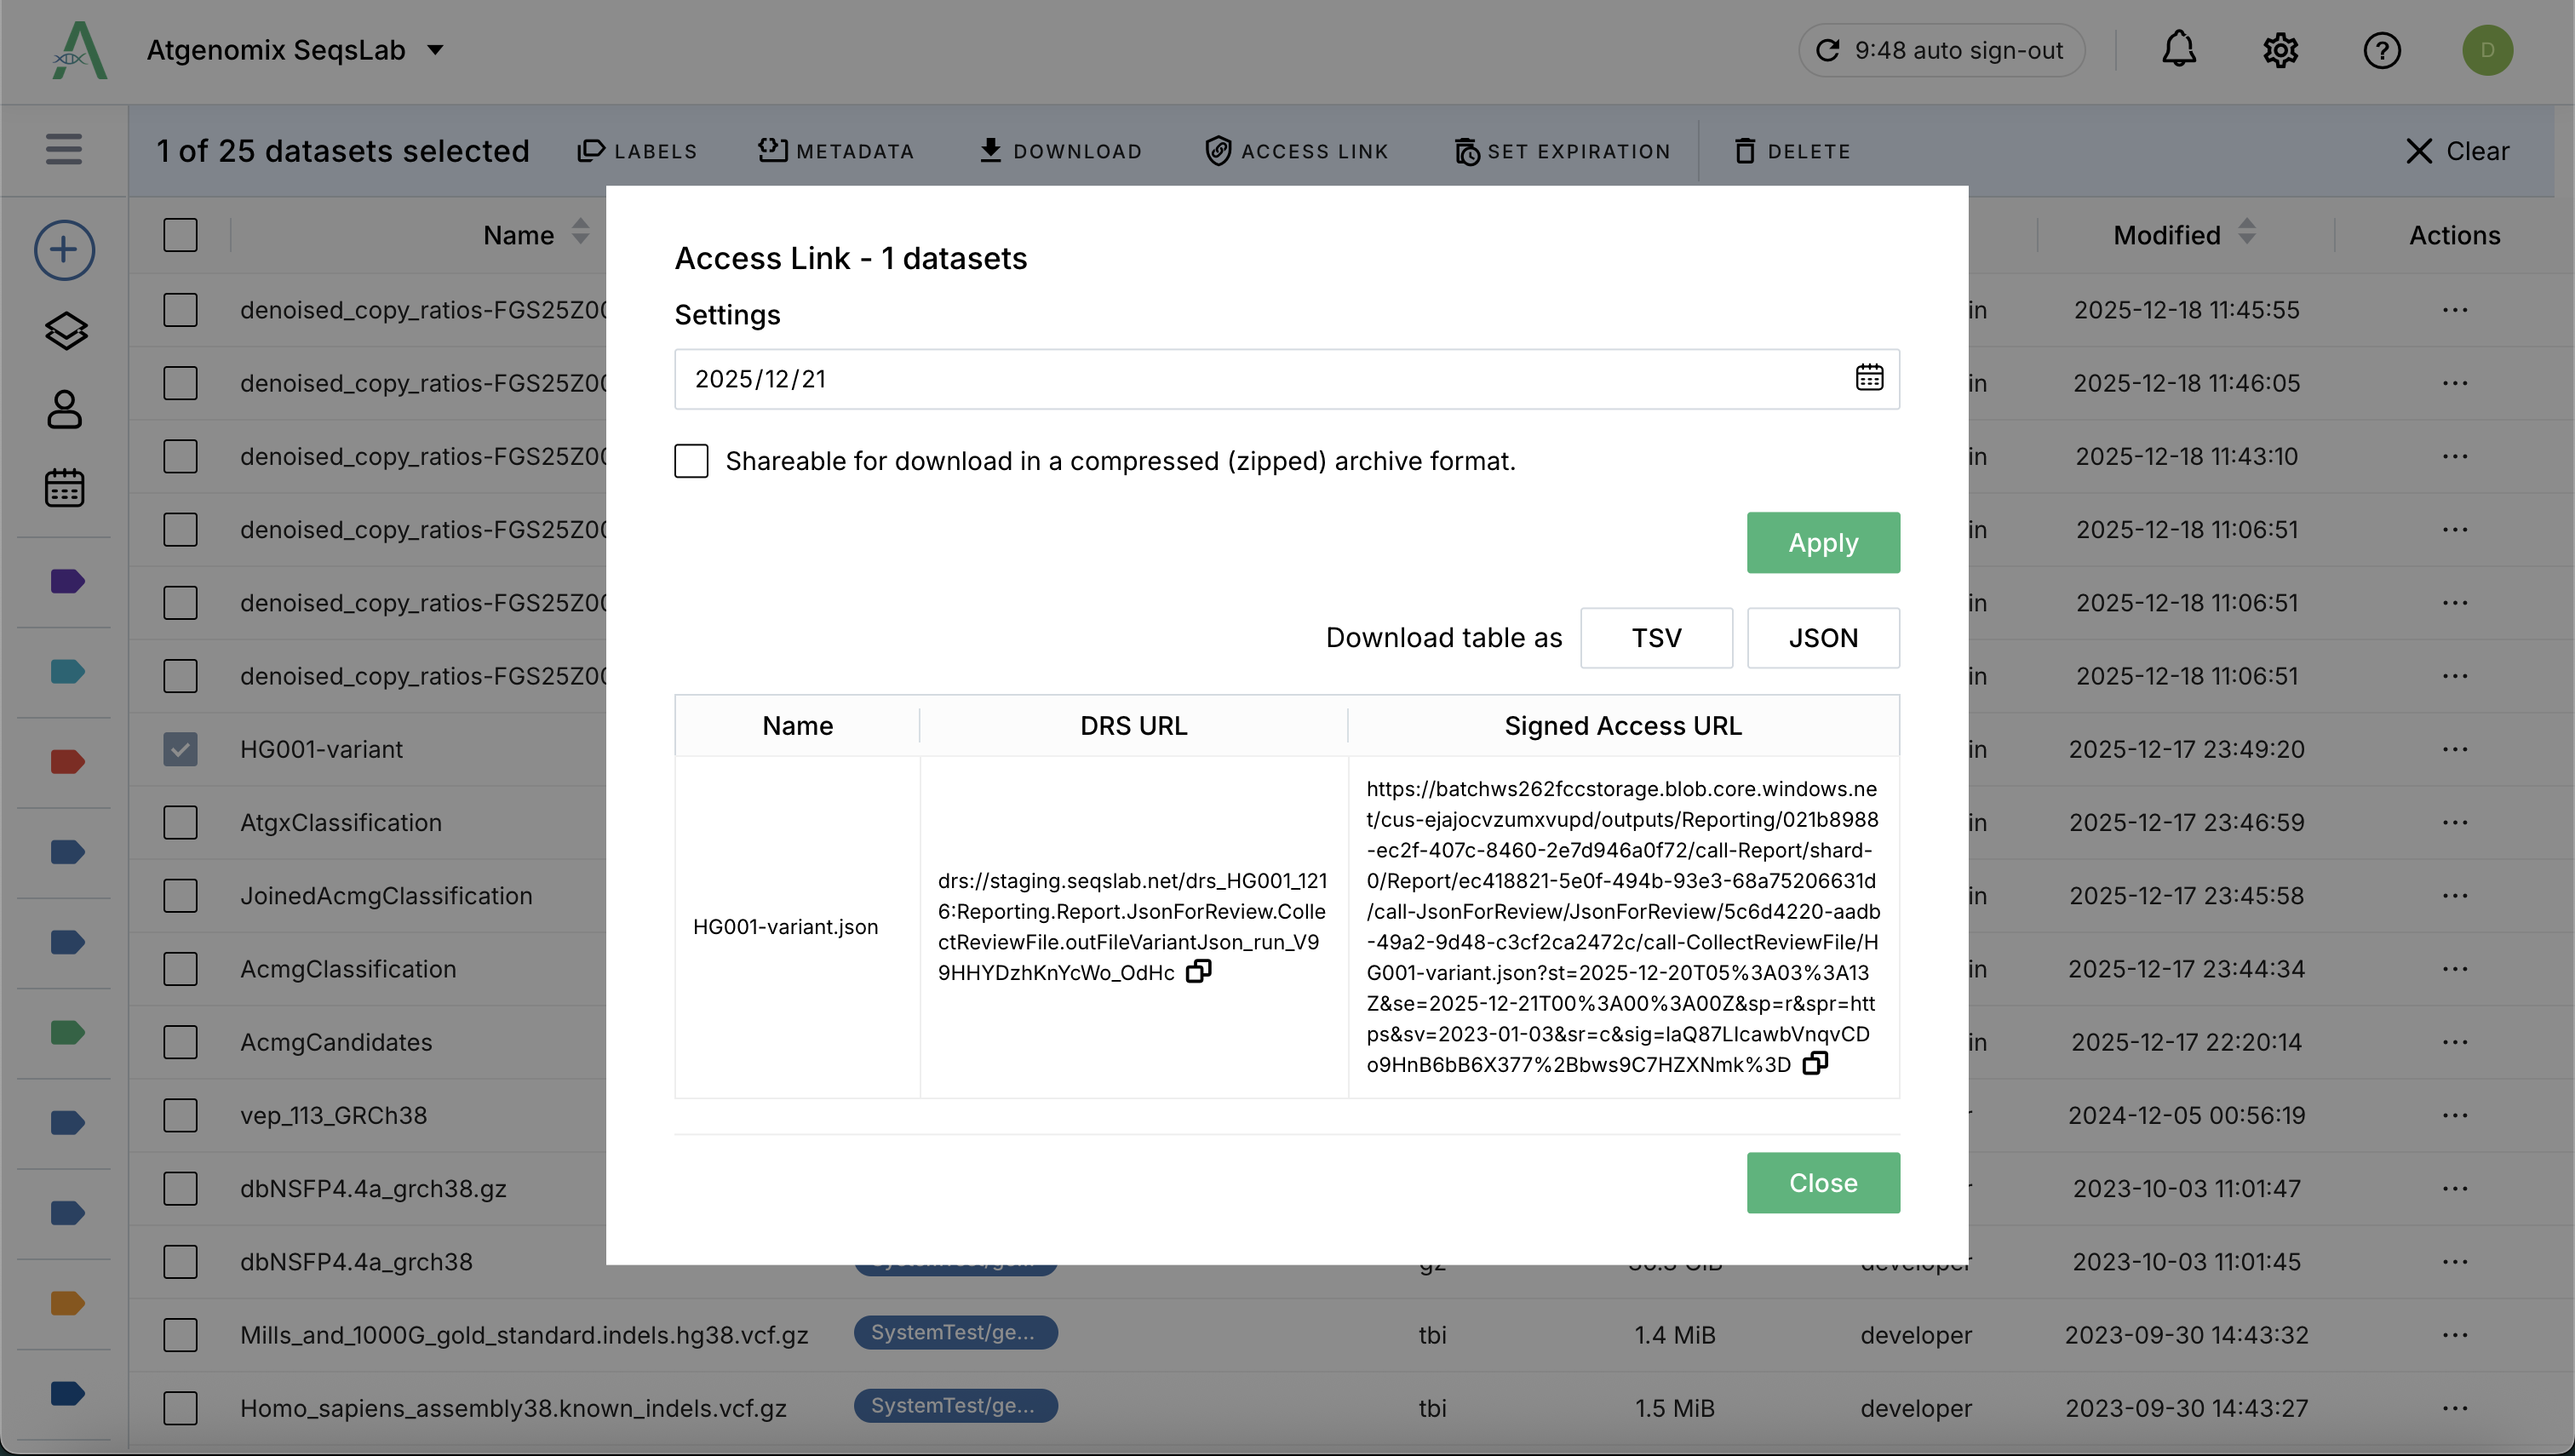
Tip: Users can use these access links (e.g., for BAM and BAI files) to view genomic alignments directly in external tools like IGV.
Next Steps#
Once your data is organized in the Data Hub, you can proceed to analyze it: